Installing an Xpress DX345 Car Alarm and Central Automatic Door Locks
I will expand on this page as I have time. I have posted the manual for the Xpress DX345 Car Alarm below for the many people requesting it. I do not own the rights to the manual, I am simply making it available to buyers who lost theirs or their kit did not come with one. This whole page has a lot of useful information so please make sure to scroll all the way down.
Car alarm and the Automatic Door locking system. Total Cost: $24.21 + $26.95 = $51.16
Click the images to take you directly to the Amazon page to purchase the products. The Universal Door Lock: Option 1 is what I used but it seems like it was discontinued from amazon so I found a similar replacement. I have also listed an option where you can by the door lock module and the actuator motors separate. Additionally, if you want to use the engine shut off options or dome light blinking, you will need to purchase the relays for this unless you vehicle already has relays you can use.
Xpress Dx345 Car Alarm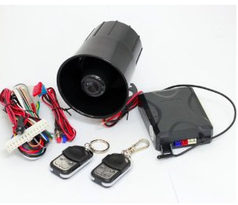
|
Universal Door Locks: Option 1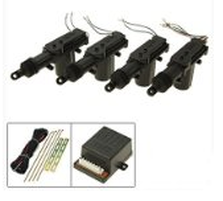
|
Universal Door Locks: Option 2
|
Door Lock Module w/o Motors: Option 3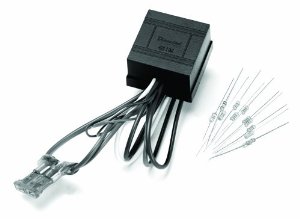
|
Individual Motors- 2 Examples: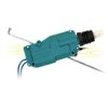
|
Relays for Dome Lights or Engine Shut off
|
Xpress Dx345 Manual and Door Lock Manual
| car_alarm_manual.pdf |
| door_lock_manual.pdf |
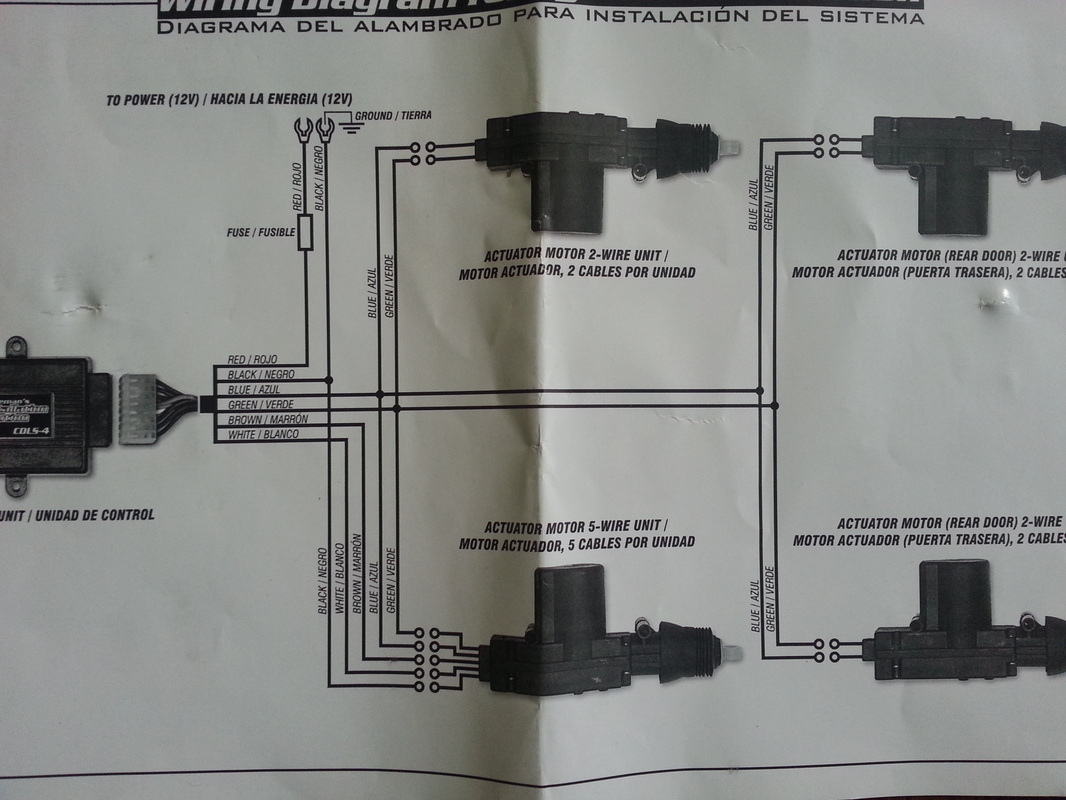
Car Alarm Wire Diagram

Control Module Wiring
System Power:
Black - Ground this wire to the frame of you vehicle. This can be done by finding an existing ground or drilling a hole and bolting the wire to the frame in some manner.
Red - This is the power for the alarm system. You can attach this to anywhere where your car is getting 12 volts from the battery. It has its own fuse built into the wire. I tied mine directly to my fuse block where other accessories were getting 12 volts. You could also connect it directly to the battery since it does have a built in fuse.
Interior/Exterior Light and Engine Control:
White - I did not use this wire, but if you want to blink your headlight one and off when your alarm is going off. I believe you would need your own diodes to do this.
Orange - I did not use this wire either, but if you want your engine to be disabled when the alarm goes off, you would have to use a relay that will shut off power to the engine.
Black/White - I did not use this wire. If you want your interior dome light to turn on, you can attach it to your light as described in the diagram. You may need to get your own relay for this as well.
Power Locks:
You will only need ONE of these sets of wires (Coffee/White or Gray or Blue & Green)
Coffee/White - This wire is used for vehicles that ALREADY HAVE AN AUTOMATIC DOOR LOCKING SYSTEM and IS VACUUM CONTROLLED. Most cars do not have vacuum door locks. Mercedes Benz usually have vacuum locks.
Gray - This wire is used for vehicles that ALREADY HAVE AN AUTOMATIC DOOR LOCKING SYSTEM and IS ELECTRIC MOTOR CONTROLLED. Chevy, Ford, Chrysler, etc.
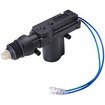
Green (-) & Blue (+) - These two wires are used for vehicles that DO NO HAVE AN AUTOMATIC DOOR LOCKING SYSTEM and PURCHASED THE UNIVERSAL AUTOMATIC DOOR LOCKING SYSTEM discussed above. The kit comes with a module that accepts the Blue and Green wire signals to lock and unlock your doors.
Siren:
Coffee - This wire is connected to the siren that comes with the kit. The other end of the siren can be grounded to the frame of your vehicle in the same manner as mentioned about. I mounted the ground in the same bolt that i used to bolt the siren to the engine compartment .
ACC:
Yellow - This is connected to the ACC. I connected it to where the ACC is connected to the fuse block. This will allow the alarm system to lock your doors after you start your car and automatically unlock your doors when you shut your car off.
Door Triggers:
Green or - One of these two wires (or both depending on your situation) can be used to let the alarm know if your vehicles door is open. I currently have only the driver side door setup. I had a prexsisting button in the door already that turned on my interior lights when I opened my door. I used it for the alarm as well. Now you need to understand how the button works. The way mine works is that when the door is open, the circuit is grounded and when the door is closed the circuit is not. Therefore I used the green wire. If your trigger works the opposite, you would need to use the purple wire instead.
Deep Purple - Use this wire if your door trigger is "positive triggered"
Hood Trigger:
White - You can also connect a hood trigger to your alarm so that the alarm will go off if anyone tried to tamper with the battery. It only lets you use the "negative triggered" setup.
Black - Ground this wire to the frame of you vehicle. This can be done by finding an existing ground or drilling a hole and bolting the wire to the frame in some manner.
Red - This is the power for the alarm system. You can attach this to anywhere where your car is getting 12 volts from the battery. It has its own fuse built into the wire. I tied mine directly to my fuse block where other accessories were getting 12 volts. You could also connect it directly to the battery since it does have a built in fuse.
Interior/Exterior Light and Engine Control:
White - I did not use this wire, but if you want to blink your headlight one and off when your alarm is going off. I believe you would need your own diodes to do this.
Orange - I did not use this wire either, but if you want your engine to be disabled when the alarm goes off, you would have to use a relay that will shut off power to the engine.
Black/White - I did not use this wire. If you want your interior dome light to turn on, you can attach it to your light as described in the diagram. You may need to get your own relay for this as well.
Power Locks:
You will only need ONE of these sets of wires (Coffee/White or Gray or Blue & Green)
Coffee/White - This wire is used for vehicles that ALREADY HAVE AN AUTOMATIC DOOR LOCKING SYSTEM and IS VACUUM CONTROLLED. Most cars do not have vacuum door locks. Mercedes Benz usually have vacuum locks.
Gray - This wire is used for vehicles that ALREADY HAVE AN AUTOMATIC DOOR LOCKING SYSTEM and IS ELECTRIC MOTOR CONTROLLED. Chevy, Ford, Chrysler, etc.
Green (-) & Blue (+) - These two wires are used for vehicles that DO NO HAVE AN AUTOMATIC DOOR LOCKING SYSTEM and PURCHASED THE UNIVERSAL AUTOMATIC DOOR LOCKING SYSTEM discussed above. The kit comes with a module that accepts the Blue and Green wire signals to lock and unlock your doors.
Siren:
Coffee - This wire is connected to the siren that comes with the kit. The other end of the siren can be grounded to the frame of your vehicle in the same manner as mentioned about. I mounted the ground in the same bolt that i used to bolt the siren to the engine compartment .
ACC:
Yellow - This is connected to the ACC. I connected it to where the ACC is connected to the fuse block. This will allow the alarm system to lock your doors after you start your car and automatically unlock your doors when you shut your car off.
Door Triggers:
Green or - One of these two wires (or both depending on your situation) can be used to let the alarm know if your vehicles door is open. I currently have only the driver side door setup. I had a prexsisting button in the door already that turned on my interior lights when I opened my door. I used it for the alarm as well. Now you need to understand how the button works. The way mine works is that when the door is open, the circuit is grounded and when the door is closed the circuit is not. Therefore I used the green wire. If your trigger works the opposite, you would need to use the purple wire instead.
Deep Purple - Use this wire if your door trigger is "positive triggered"
Hood Trigger:
White - You can also connect a hood trigger to your alarm so that the alarm will go off if anyone tried to tamper with the battery. It only lets you use the "negative triggered" setup.
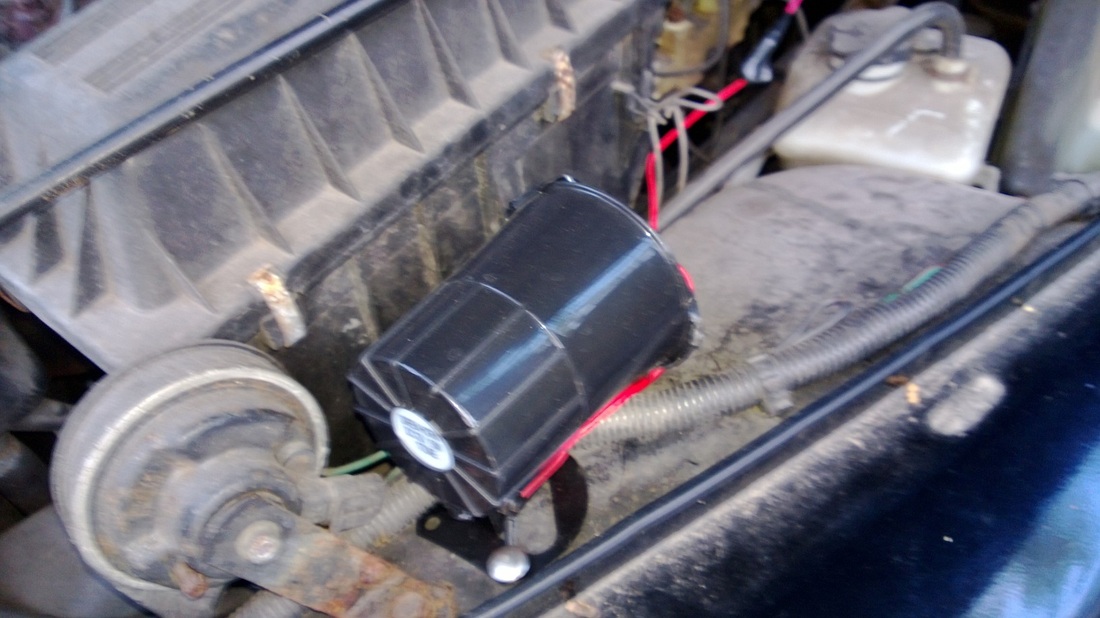
Siren mounted in my hood.
|
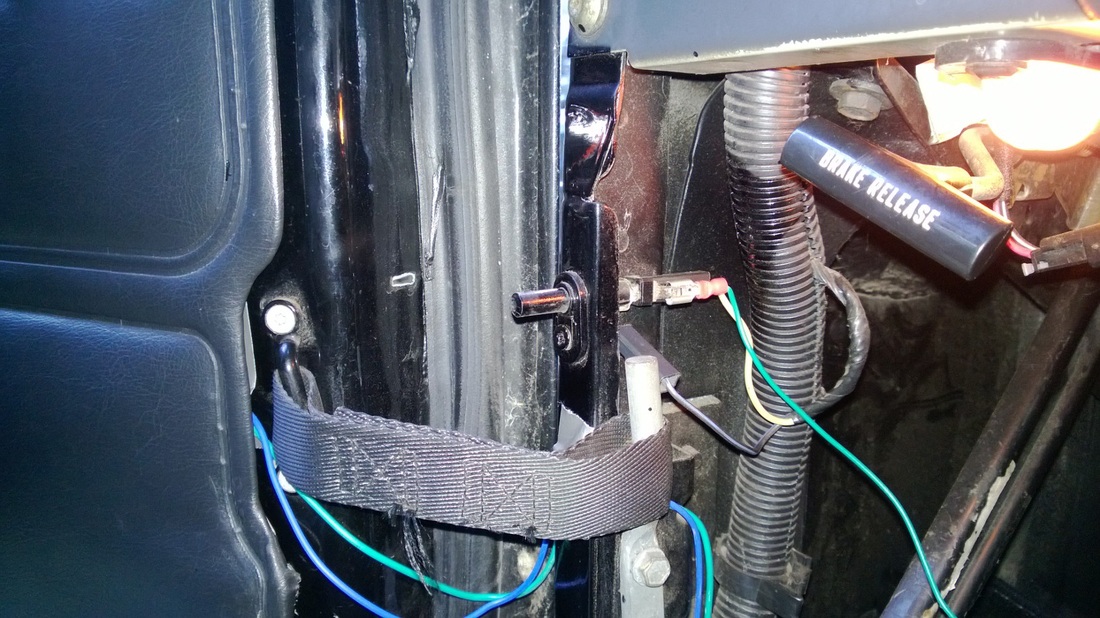
Using an existing door trigger for my alarm system. Additionally, you can see my automatic door lock wires coming from my door. (I later wrapped them with wire loom to protect them).
|
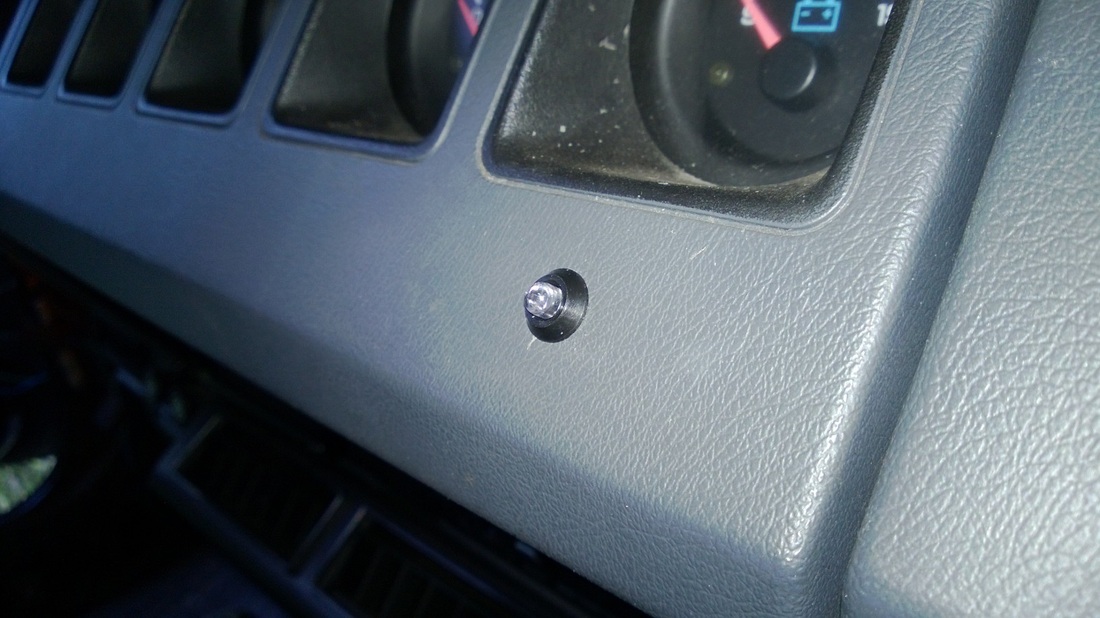
Indicator icon on my dash.
|
Helpful Hints and Tips
As readers post problems to me and/or if they come up with other solutions, I will post them here.
Brad, a reader of my site, tried Option 2 Door Locking system. Here is a quick image of that system:
Brad, a reader of my site, tried Option 2 Door Locking system. Here is a quick image of that system:
He ran into a problem where there were NO wires to connect the alarm system to. He opened the door locking controller and found 2 holes on the PCB. Some how the manufacture forgot to attach these wires. Hopefully this was just his system, if not and this happens to anyone else, he said he soldered his blue and green wires from the alarm system (see above section called "Control Module Wiring") to those two holes and the system worked. This should solve your problem. If others run into the same or other problems let me know and I will post them.
