Designing and Building a Fish Tank Lid
I got this fish tank for free, but the lid for it was damaged and not salvageable. I used the fish tank for a while without a lid, but the water evaporated too fast and I was tired of filling it up weekly. I decided to build my own!
STEP 1: I started with a piece of scrap plexiglass that was going to be thrown away from the Introduction to Engineering course I TA.
STEP 1: I started with a piece of scrap plexiglass that was going to be thrown away from the Introduction to Engineering course I TA.
This was the only material I had to work with that was big enough to cover the top of the fish tank. I wanted to avoid spending money on any supplies unless I had no other choice. I measure up the entire lid and planned out how I was going to cut the plexiglass. I used a Dremel tool with a 2" diameter Heavy-Duty Cutoff Wheel to cut the material as I pleased. I designed the lid much like a cardboard box is design. I made sure I accounted for all flaps that would need to be folded over the lip of the tank top.
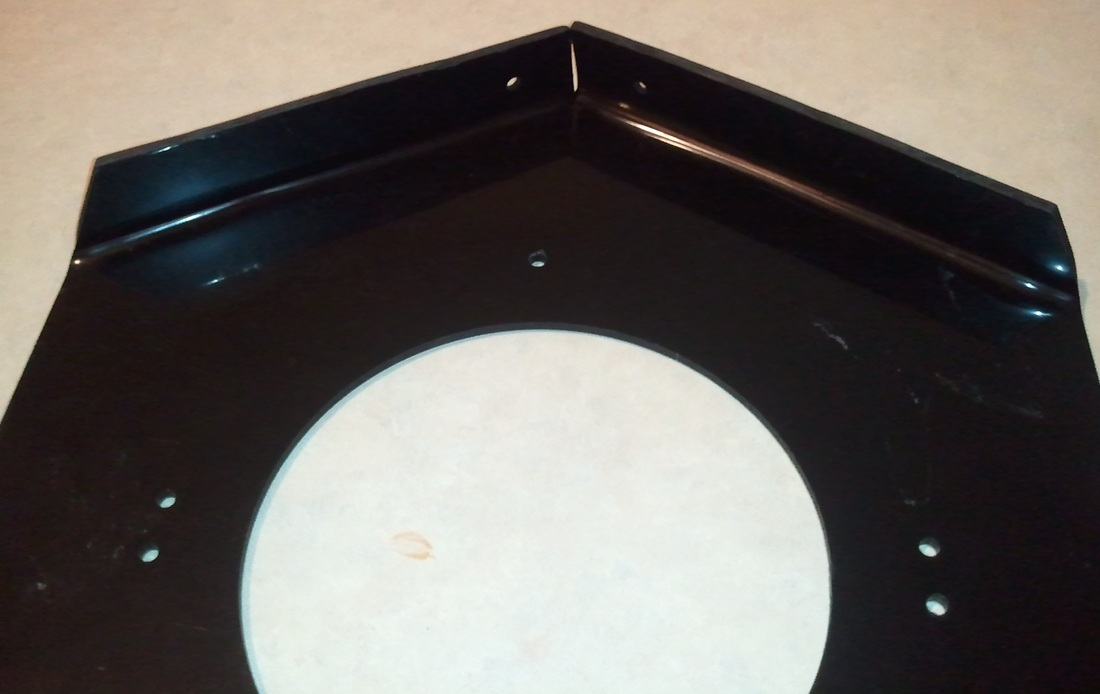
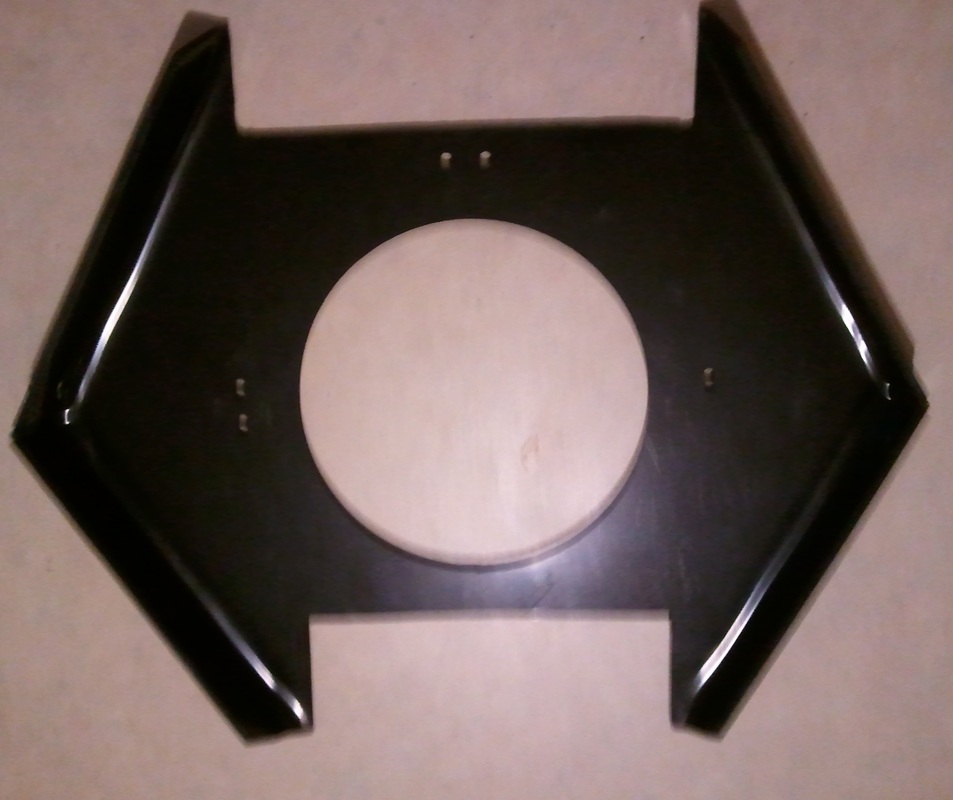
Step 2: My next step was to heat up and bend the lips for the lid so it would sit snug on top of the tank. I used a heat gun to heat the portions of the plexiglass I want to heat. When the material is hot enough, it can easily be bent to the desired shape and when it cools it becomes stiff and remains in the shape that it was bent.
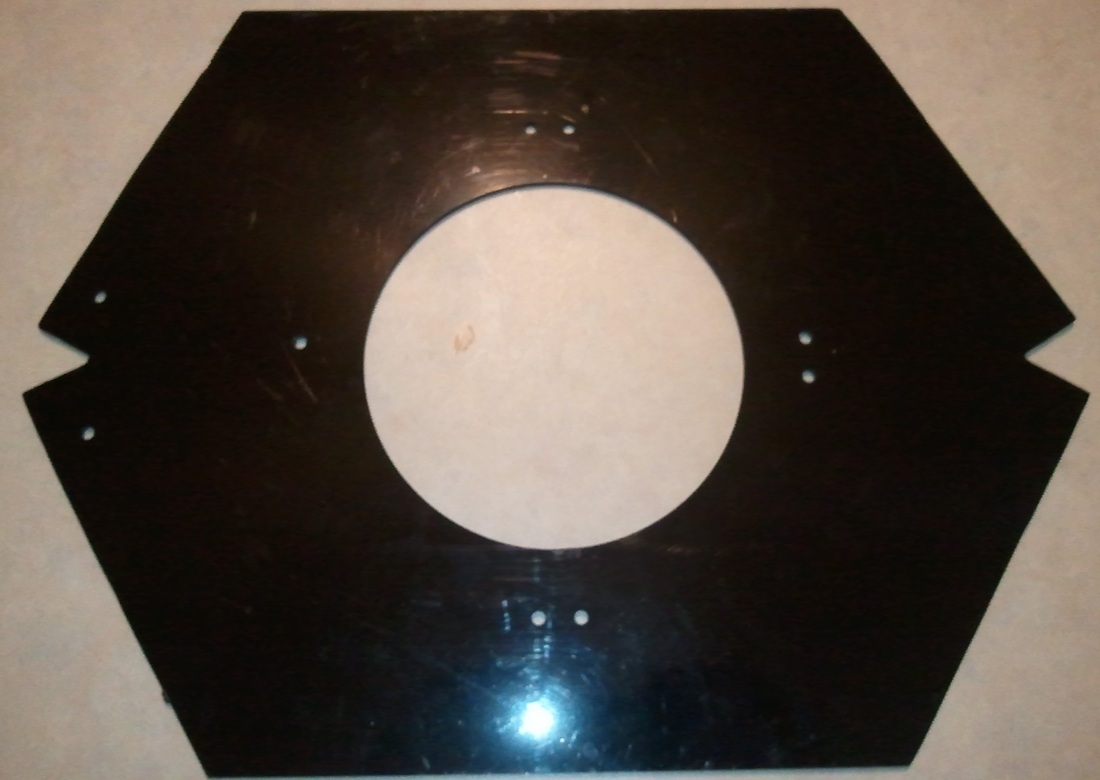
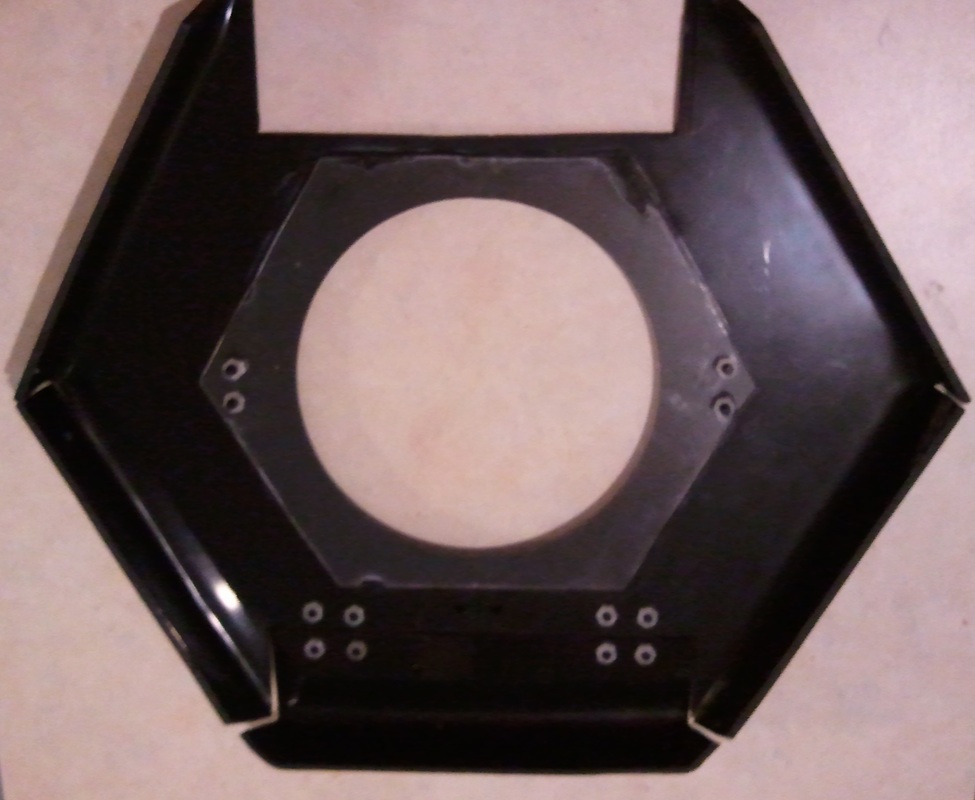
Step 3: I continued the process until all four flaps were completed. I then cut a hole in the back of the lid to make room for the filter and other wires that hang on the back of the tank.
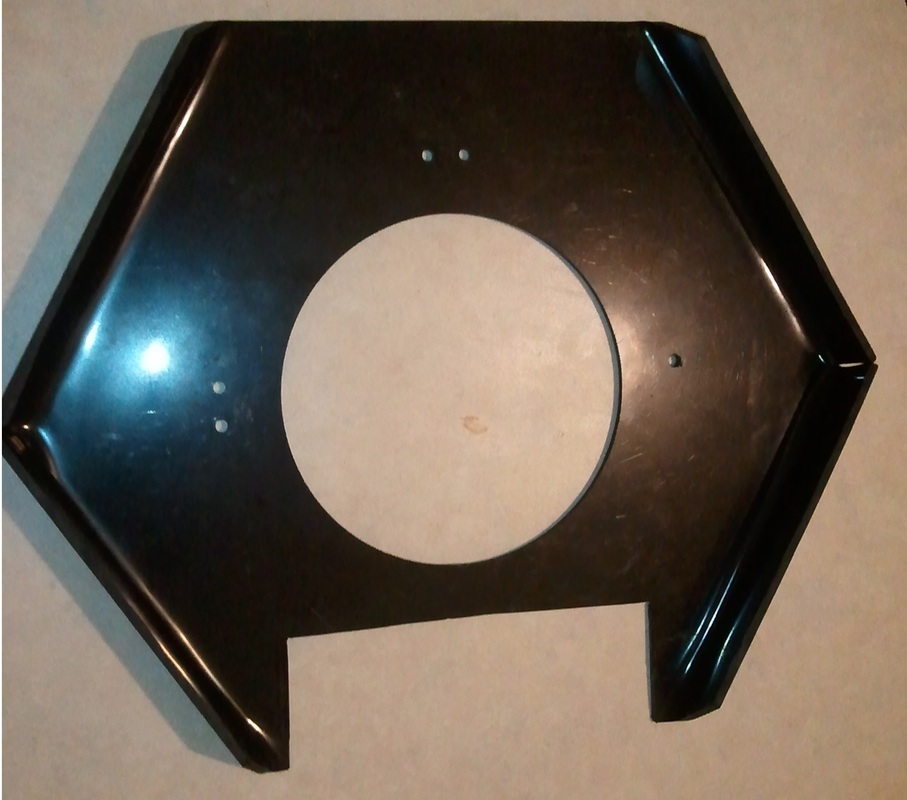
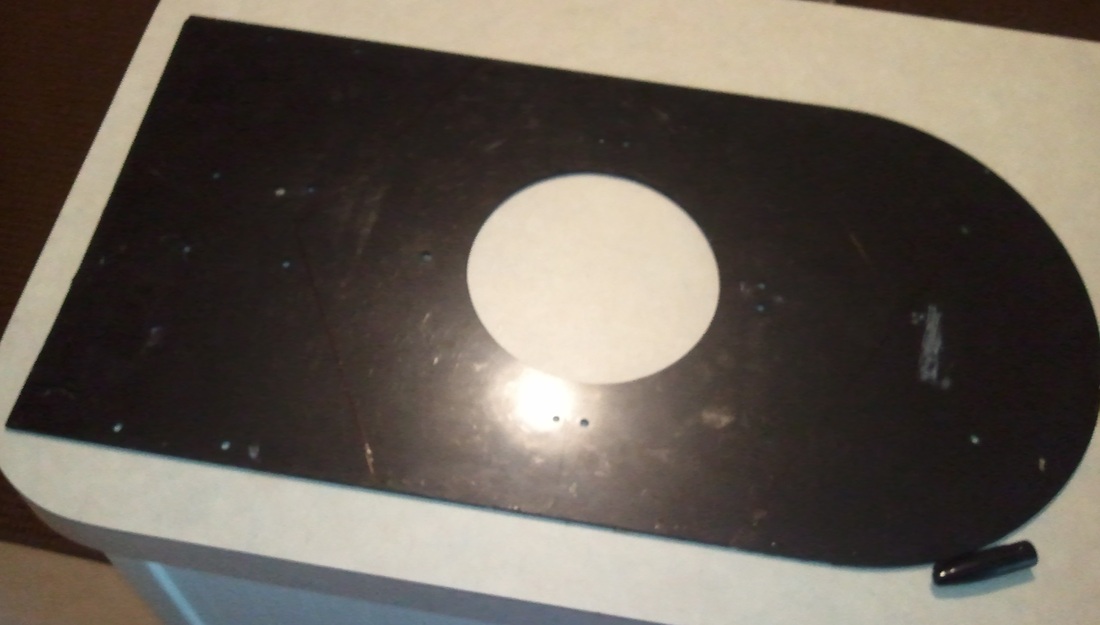
Step 4: I cut a second hole on the opposite side of the first for a small hatch that could be used for feeding the fish. This hole was much wider but not as deep.
Step 5: Using some of scraps that were cut off when I made the original piece, I made a door with a similar 90 degree flap.
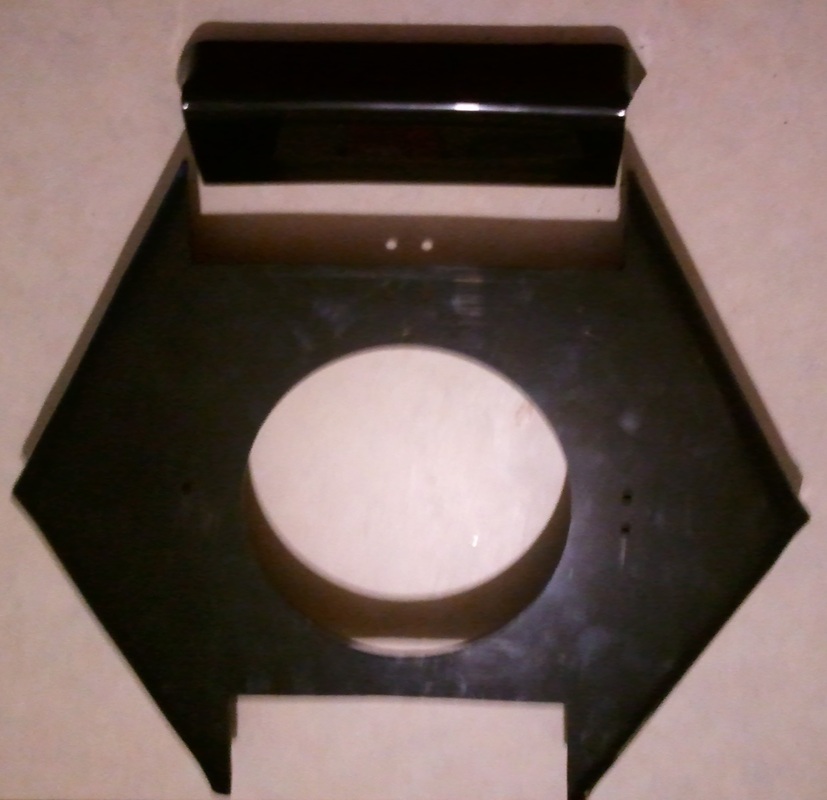
Step 6: The hole in the middle of the lid was already in the plexiglass, but since I have a light above my fish tank it ended up being convenient. If the hole was not there, I would have had to cut one or purchase a light that would sit inside the tank. Having a large hole in the middle, however does defeat the purpose of a lid so I took a scrap piece of clear plexiglass and attached it to the bottom of the lid so the light can shine through, but the water will not evaporate.
Step 7: I purchased two small hinges and attached the door to the lid. I also trimmed the clear plexiglass to make it look nicer and match the shape of the lid. I also put superglue around the edge of the glass to create a good seal between the clear and black plexiglass.
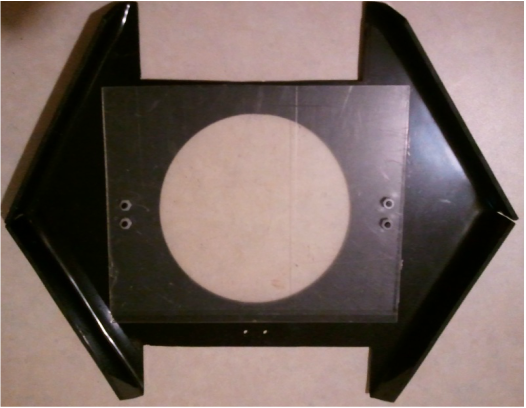
Better image of the door hinged open.

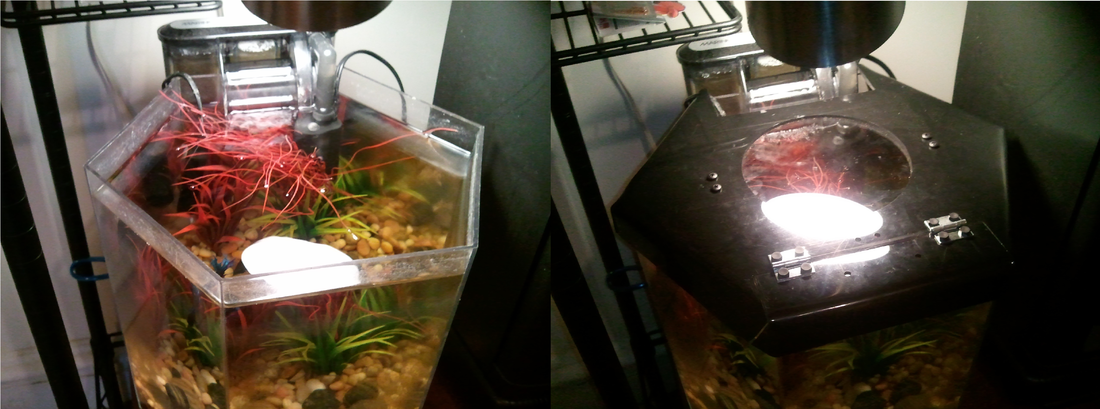
Final Result:
The lid fit tightly to the top of the tank . The door took a little bit of sanding to make sure it closed properly. The lid has been on for several weeks and I have not had to add water yet!

